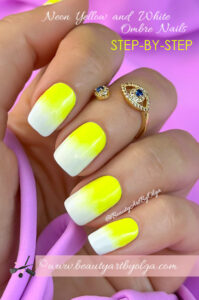
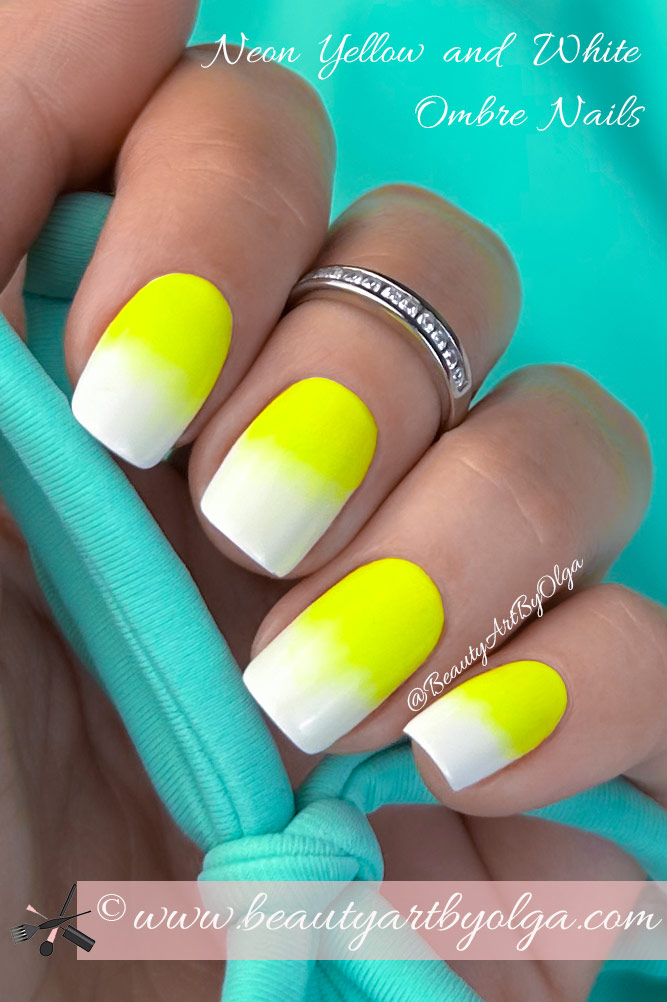
Here is another Step-By-Step Tutorial for Summer Nails: White and Yellow Neon Ombre Nails.
One of my all time favorite Summer Manicures EVER! I am obsessed! And I HAVE TO wear it at least once over the summer.
The only thing that could possibly make these nails look even better is a beautiful summer tan.
It is hands down one of the most popular Summer Nail Art Designs among my clients since the day I put it on my nails for the first time.
I included Step-By-Step Instructions for both Gel (No Chip Manicure) and Regular Manicure. So no matter which manicure you prefer, you can enjoy wearing these fun nails.
In the summer bright and fun Neon Nails always being such a big trend, this look totally fits the bill.
These Bright Summer Nails can be your:
Tropical Vacation Nails
Summer Party Nails
Summer BBQ Nails
Fun Girl’s Trip Nails
Summer Fest Nails
Summer Wedding Guest Nails
Summer Bachelorette Party Nails
Actually, here is how I first came up with this nail design:
One year I wore these Nails for Vacation to Greece, and it was a huge hit! Got so many compliments.
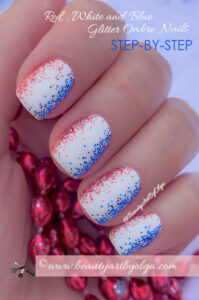
Usually when I think of Greece (or any other warm tropical place) I automatically think of Beach, Sun and Sand. And White and Blue colors of course.
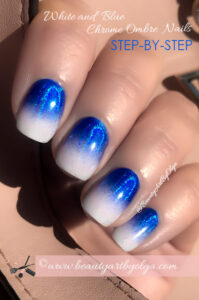
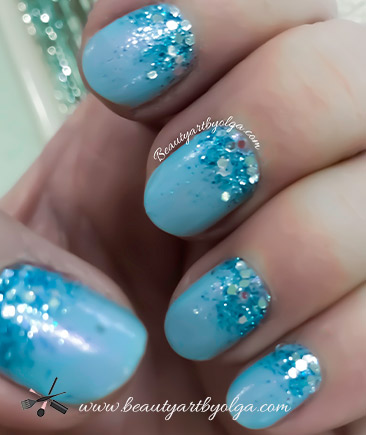
So when we go to Greece I usually tend to go for White and Blue Nails of some kind. These are one of my faves:
But that year I wanted nails that are fun, trendy and different and not blue. And still perfect for my trip to Greece.
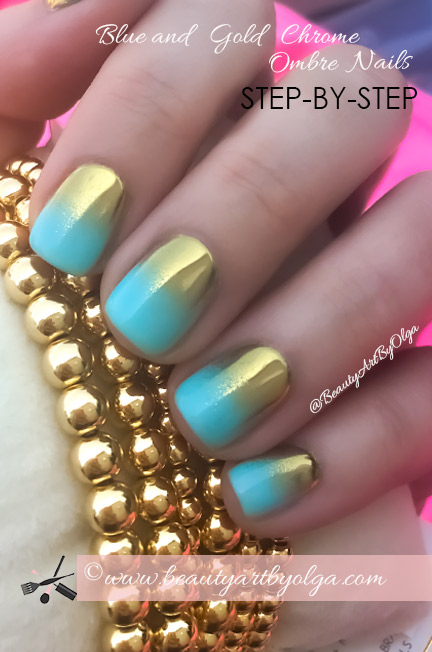
Beach, Sun and Sand, right? 🙂 Blue for the beautiful ocean and sky, yellow for the sun and gold for the sand!
And when I look at these Yellow and White Nails, I think of bright summer sun. So this sunny design was the next best thing. Sun is right up there for me along with the blue water and blue sky!!
Plus I do love White Nails and Yellow Nails and toes just as much as I love blue! Especially with that summer tan!
Yellow and blue colors compliment each other so perfectly. Actually bright yellow tone goes beautifully with almost any other hot summer colors.
So this nail design went perfectly with all of my blue and white outfits. As well as all of my bright bathing suits and all of the other bright outfits I wore on my trip.
So anywhere Fun Summer Nails are required – these Neon Yellow and White Gradient Nails are it! Even if they are required just to bright up an everyday routine.
Two-Tone Gradient Nails are one of the best Summer Nail Designs. Possibilities are endless!
This look can be created and worn as both regular manicure as well as a No Chip Gel Manicure. It could be a bit tricky and messy to create for you or for your nail technician. But you will enjoy wearing it until you take it off. And the compliments will just keep coming.
To create these Neon Yellow and White Gradient Nails I used:
- Gel Or Regular Base Coat
- Bright White Gel or Regular Nail Polish
- Disposable Eye Shadow Applicator
- Neon Yellow Nail Art Pigment:
- Fluffy Makeup Brush
- Gel or Regular Top Coat
I hope you try this look or get inspired to create your own version!
Have a healthy, happy, fun and sunny summer! And happy Summer Nails !
Follow me and keep in touch:
Sign Up for My Newsletter and Never Miss a Post:
Don’t ever let anyone dull Your Sparkle,

Summer Nails: White and Yellow Neon Ombre Nails
HOW-TO INSTRUCTIONS:
No Chip Gel Manicure:
After completing your nail prep, apply Gel Base Coat. Then cure for the required time.
Apply 2 to 3 coats of White Gel Polish. Then cure each coat for the required time.
Dip just the tip of a disposable eyeshadow applicator into the neon yellow pigment.
Press the pigment into the nail starting at the cuticle area. Then work your way down to the middle of the nail. Do that by lightly swirling and then padding the applicator moving down the nail.
It will create the fade effect. If needed, repeat util you applied enough pigment.
Tip: Pigment is not sticking?
Not all Gel Polish has a sticky (tacky) layer. Apply 1 coat of gel base coat with tacky layer over the white polish. Then proceed to Step 4.
Use a fluffy soft brush to brush off access pigment from the skin and around the cuticles.
Apply your favorite Gel Top Coat. Be sure to cap free edges. Then cure for the required time.
Regular Manicure:
After completing your nail prep, apply Base Coat of choice.
Apply 2 coats of Bright White Nail Polish.
When your polish is almost dry, but still a little tacky, lightly dip a tip of a gel brush into the neon yellow pigment.
Then using light pressure press it into the tacky layer of the nail polish. Carefully fade the pigment down lightly swirling and padding the tip of the brush into the polish to create a gradient effect. Be sure to use light pressure. This will prevent smearing the polish.
If needed, keep dipping the tip of the applicator into glitter to add more.
Tip: Nail polish dried too much and pigment doesn’t stick? Apply 1 coat of base coat over the white polish. When almost dry, but still tacky, proceed to Step 3.
Use a fluffy soft brush to brush off access pigment from the skin and around the cuticles.
Apply your favorite Top Coat. Be sure to cap free edges.
Tip: You may need to wipe the brush in between applications on a lint free wipe to wipe off access pigment.
Enjoy the finished look!